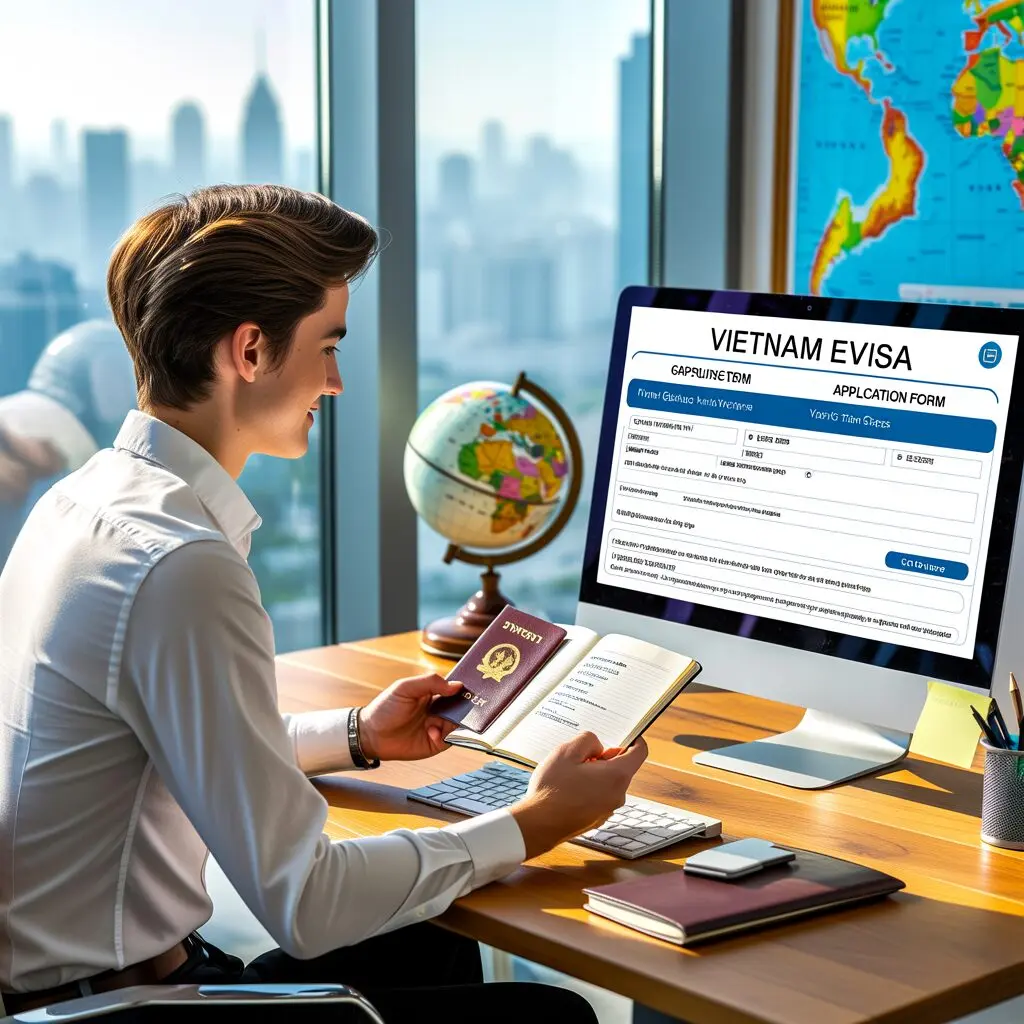
Applying for a Vietnam eVisa is simpler than most travelers expect. The entire process happens online through the official government portal, and you can complete it in about 15-20 minutes. This Vietnam eVisa guide walks you through every step so your application gets approved on the first try.
What You Need Before Applying
Before you open the application form, make sure you have everything ready. Having your documents prepared in advance prevents the most common reasons for delays and rejections.
Valid Passport Requirements
Your passport must be valid for at least six months beyond your planned entry date into Vietnam. The passport needs to have at least two blank pages for entry and exit stamps. You will also need a clear scan or photo of your passport’s biographical data page – the page with your photo, name, date of birth, and passport number.
- Passport validity: minimum 6 months from entry date
- Blank pages: at least 2 available
- Scan quality: all text readable, no glare, full page visible
- Accepted formats: JPEG or PNG
- File size: under 1MB
Photo Requirements for Your Application
You need two photos for the application: a fresh portrait photo and a scan of your passport data page. The portrait photo is the one that causes the most rejections, so pay close attention to the specifications.
Make sure your photo meets the Vietnam eVisa photo requirements before uploading. The portrait must be taken against a white background, show your full face clearly, and match your passport photo closely. The system uses a face-matching algorithm that compares your portrait to the passport photo – if the match percentage is too low, your application may be flagged for manual review.
- Portrait photo: 4x6cm, white background, no glasses, neutral expression
- Face should occupy 70-80% of the frame
- Passport scan: entire data page visible, no corners cut off
- Both images: JPEG or PNG, under 1MB each
- No glare or shadows on either photo
Pro tip: Take your portrait photo with the same expression as your passport photo. Matching your facial expression significantly improves the face-matching score and reduces the chance of rejection.
Accommodation and Entry Point Information
You will need to provide your accommodation address in Vietnam and select your intended entry point. Vietnam has 42 designated entry checkpoints that accept eVisas, including major airports in Hanoi (Noi Bai), Ho Chi Minh City (Tan Son Nhat), and Da Nang, as well as select land border crossings and seaports.
Have your hotel name and address ready before starting the application. If you are staying at multiple locations, use the address of your first night’s accommodation.
Step-by-Step Application Process
The application process has seven main steps. Follow them in order and you will have your eVisa submitted correctly.
Step 1 – Access the Official Portal
Go to the official Vietnam eVisa portal at evisa.xuatnhapcanh.gov.vn. This is the government’s official immigration portal – do not use third-party websites that charge extra fees. Look for the “Apply for e-visa” button on the homepage and click it to begin.
Important: Use a desktop or laptop computer for the best experience. While the portal works on mobile devices, the photo upload and form fields are easier to complete on a larger screen.
Step 2 – Accept the Declaration
Read the declaration carefully. You need to scroll to the bottom and check two boxes: one confirming you have read the instructions and one confirming compliance with the regulations. Click “Next” to proceed to the application form.
Step 3 – Upload Your Photos
This is the most critical step. Upload your portrait photo in the first field and your passport data page scan in the second field. The system will automatically compare the two photos and generate a match percentage.
- If the match percentage shows green, you can proceed
- If it shows yellow or red, retake your portrait photo with a more similar expression to your passport photo
- Ensure both images are clear and well-lit before uploading
- The upload may take a few seconds – do not click away or refresh the page
Step 4 – Fill in Personal Information
Complete all fields marked with a red asterisk (*) – these are mandatory. Fields without an asterisk are optional. Here are the key fields to watch:
- Full name: Enter exactly as it appears on your passport, including middle names
- Date of birth: Use the DD/MM/YYYY format
- Nationality: Select from the dropdown menu
- Religion: This field is required. If you are not religious, enter “Atheist” or “Nonreligious”
- Identity card: You can skip this field – it is not required for foreign applicants
- Create account: Check the box to create an account so you can check your application status later
Make sure every detail matches your passport exactly. Even small spelling differences between your application and passport can cause delays.
Step 5 – Enter Trip Details
Provide your planned travel information:
- Purpose of visit: Select the appropriate option (tourism, business, etc.)
- Visa type: Choose single-entry ($25) or multiple-entry ($50). If you plan to leave Vietnam and re-enter during your trip, choose multiple-entry
- Intended date of entry: Your arrival flight date
- Intended date of exit: Your departure date from Vietnam
- Entry checkpoint: Select the airport or border crossing you will arrive at
- Exit checkpoint: Select where you will leave Vietnam
- Accommodation: Enter your hotel name and full address
Your eVisa will be valid for the date range you specify. The Vietnam eVisa processing time is typically 3-5 business days, so plan your application dates accordingly.
Step 6 – Pay the eVisa Fee
After reviewing all your information, proceed to payment. The Vietnam eVisa fee is $25 USD for a single-entry visa or $50 USD for a multiple-entry visa. Payment is made online through the portal’s secure payment gateway.
- Accepted payment methods: Visa, MasterCard, and some international debit cards
- Payment is processed in USD
- You will receive a confirmation email with your application code after payment
- Save your application code – you need it to check your status
If payment fails: Try a different card or contact your bank to authorize the international transaction. Some banks block payments to Vietnamese government portals by default.
Step 7 – Download Your Approved eVisa
Once approved, you will receive an email notification. Log in to the portal using your application code and registration details, then download your eVisa as a PDF file. Print at least two copies – one for your carry-on and one as a backup.
Common Application Mistakes to Avoid
These are the errors that cause the most rejections and delays. Avoid them and your application should be approved without issues.
Photo Upload Errors
| Mistake | Why It Causes Problems | How to Fix It |
|---|---|---|
| Portrait has colored background | System requires white background | Retake photo against a white wall |
| Wearing glasses in portrait | Glasses obscure facial features for matching | Remove glasses before taking photo |
| Passport scan has glare | Text becomes unreadable | Scan in good lighting, avoid flash |
| Low match percentage | Application flagged for manual review | Match expression in passport photo |
| File too large (over 1MB) | Upload fails or is rejected | Compress image before uploading |
Form Field Mistakes
- Name mismatch: Your name must match your passport exactly. Do not abbreviate or use nicknames
- Wrong date format: Use DD/MM/YYYY, not MM/DD/YYYY
- Skipping required fields: All red asterisk fields must be completed
- Incorrect entry checkpoint: Make sure it matches your actual arrival airport or border crossing
- Leaving religion blank: This is a required field – enter “Atheist” if applicable
Payment and Timing Issues
- Applying too late: Apply at least 5-7 business days before travel to allow for processing delays
- Card declined: Contact your bank to authorize the payment or try a different card
- Wrong travel dates: Your eVisa is only valid for the dates you specify – double-check before submitting
- Not saving application code: Write down or screenshot your code immediately after payment
After You Apply – What Happens Next
After submitting your application and payment, the Vietnam Immigration Department processes your request. Here is what to expect and how to stay informed.
Checking Your Application Status
Visit the same portal (evisa.xuatnhapcanh.gov.vn) and look for the “Check e-visa status” or “Search for application” option. Enter your registration code, email, and date of birth to view your application status.
Common status meanings:
- Processing: Your application is being reviewed – this is normal for the first 3-5 business days
- Approved: Your eVisa is ready to download
- Additional information required: Check your email for specific instructions
- Rejected: Check the reason and reapply with corrections
Downloading and Printing Your eVisa
Once approved, download the PDF from the portal. Print it on standard A4 or letter-size paper in color if possible. The printed eVisa should show your photo, personal details, visa number, and validity dates clearly. Bring two printed copies when you travel.
What to Do at the Airport
When you arrive in Vietnam, proceed to the immigration counter and present your printed eVisa along with your passport. The immigration officer will verify your details, stamp your passport, and grant entry. Keep your eVisa printout with your travel documents throughout your stay – you may need it when checking into hotels or at internal checkpoints.
Vietnam eVisa Application FAQ
How much does a Vietnam eVisa cost?
The Vietnam eVisa costs $25 USD for a single-entry visa (one entry, up to 90 days) or $50 USD for a multiple-entry visa (unlimited entries within the 90-day validity period). Payment is made online during the application process.
How long does Vietnam eVisa processing take?
Standard processing takes 3-5 business days. During peak travel seasons or Vietnamese holidays, it may take up to 7 business days. Apply at least one week before your travel date to be safe.
How far in advance should I apply?
Apply at least 5-7 business days before your planned entry date. You can submit your application up to 90 days in advance. We recommend applying 2-3 weeks before travel to allow time for any corrections if needed.
Do US citizens need a visa for Vietnam in 2026?
Yes, US citizens need a visa to enter Vietnam. The eVisa is the most convenient option, allowing stays of up to 90 days with single or multiple entry.
What photo do I need for Vietnam eVisa?
You need two photos: a fresh portrait photo (4x6cm, white background, no glasses, neutral expression) and a clear scan of your passport data page. Both must be JPEG or PNG format, under 1MB.
Can I apply for Vietnam eVisa on my phone?
Yes, but a desktop or laptop computer is recommended. The photo upload and form fields work better on larger screens. If using a phone, make sure your photos are ready before starting.
What if my Vietnam eVisa application is rejected?
Check the rejection reason on the portal. Common fixes include correcting name spelling, retaking photos, or providing clearer passport scans. You can reapply immediately after fixing the issues.
How do I check my Vietnam eVisa status?
Visit evisa.xuatnhapcanh.gov.vn and use the status check feature. Enter your registration code, email address, and date of birth to view your current application status.
Do I need to print my Vietnam eVisa?
Yes. Print at least two copies of your approved eVisa PDF. Immigration officers at the Vietnamese border will need to see the printed document along with your passport.
Which airports accept Vietnam eVisa?
Vietnam eVisas are accepted at 42 designated entry points, including all major international airports: Noi Bai (Hanoi), Tan Son Nhat (Ho Chi Minh City), Da Nang, Cam Ranh (Nha Trang), and Phu Quoc, plus select land and sea border crossings.
Can I extend my Vietnam eVisa?
eVisas cannot be extended while in Vietnam. If you need to stay longer, you must leave the country and apply for a new eVisa, or apply for a different visa type through the Immigration Department.
What is the difference between single and multiple entry eVisa?
A single-entry eVisa ($25) allows one entry into Vietnam within the validity period. A multiple-entry eVisa ($50) allows unlimited entries and exits during the 90-day validity. Choose multiple-entry if you plan to visit neighboring countries and return to Vietnam.
—
About the author: The vietnamevisa.info editorial team specializes in Vietnamese travel documentation.
Last updated: July 2026